Recording Acoustic Guitar
Acoustic Guitar
Recording Acoustic Guitar in an Audio House studio is easy. We’ll give more detail below, but in summary there are five steps.
1 - open the DAW
2 - load the premade template
3 - position the microphones
4 - record
5 - save and share it :)
Open the DAW
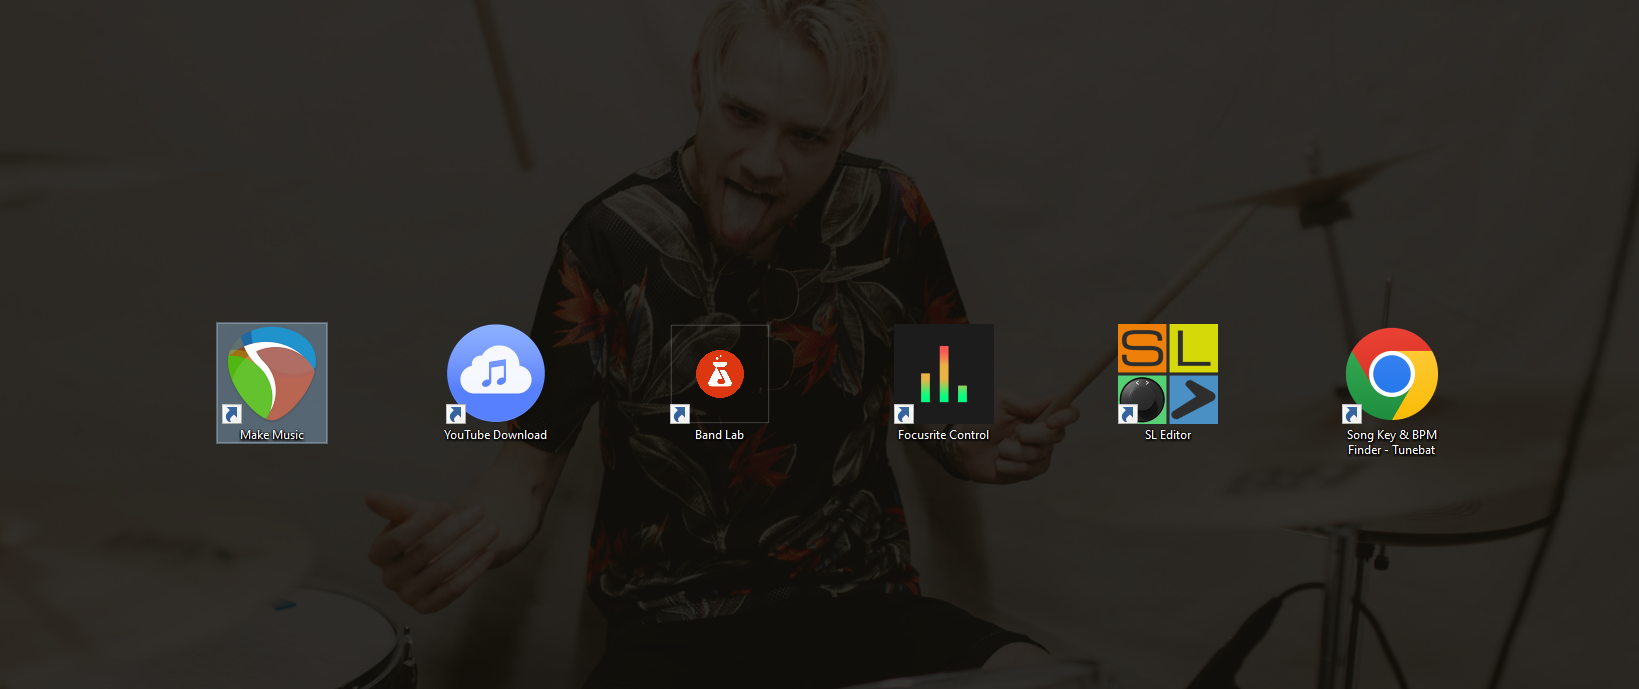
Open the DAW by double-clicking the large green, brown, and blue icon titled “Make Music”.
DAW is just the nickname for the program we use to record music on a computer. It stands for Digital Audio Workstation.
Load the premade template
By default, a generic template for recording vocals over a pre-made instrumental is automatically loaded. If you will also be recording vocals and inserting pre-made instrumentals, you may keep these tracks. If not, go ahead and delete them before loading the acoustic guitar template.
To load the acoustic guitar template…
Right click the “Track Panel”
Hover over “Insert track from template…”
Hover over “Guitar”
Finally, select the Acoustic Guitar template you’d like to use.
Position the microphones
Move the SM57 mic a few inches away from the front of your guitar. Starting in front of the 12th fret is usually a great balance of warmth and detail, but experiment with it until you find a sound that you like.
If you’d like a little extra clarity, detail, and resonance then record with the vocal mic as well. Turn it towards your guitar but keep it fairly distant. Again, feel free to experiment with it’s placement till you like the sound.
Record
When you’re ready to record, follow these steps…
Press the large red button to start recording. There will be a delay to give you time to stand up and move to the microphone.
(CTRL + R also starts recording)Press SPACE BAR when you’d like to stop recording
Press SPACE BAR again to listen to what you’ve recorded
If you want to delete it, right click the waveform that you recorded and click “Remove Items”.
(Or left click on the waveform and click “Delete” on the keyboard)Repeat this process until you’ve finished the song.
Save and share
Don’t lose your work! Save your project as often as you remember by pressing CTRL + S on the keyboard. When it’s your first time saving you will need to select a location for your file.
To create a location for your file…
Press “File”, then “Save”
Create a new artist folder with your name (if it doesn’t already exist)
Type the song name in the “File Name” box
Ensure that the following 3 boxes are checked:
“Create subdirectory for project”
“Move all media into project directory”
“Copy rather than move source media if not in old project media path”
Press Save
When you’re finished with the song and would like to render an MP3 or WAV for listening or sharing…
Click “File” in the top left corner
Press “Render”
On the window that appears, click “Browse”
Select the selected file directory which will appear under “Browse for file”
Change the “File Name” to something memorable
Select the file type you’d like.
WAV = best quality, large file size
MP3 = worst quality, small file sizeClick “Render”


